Christmas Motifs
This article first appeared in the Artists and Illustrators magazine, issue 385
by Siân Dudley
Painting Christmas cards is a thoroughly enjoyable part of your Christmas preparations. The trick is to keep the designs simple, and allow the delightful paint effects possible in watercolour to do the work for you. The motifs shown here are designed to do just that. If you want some extra sparkle, add glitter or iridescent medium!
Additional notes from Siân
The materials listed are a guide. Use whatever you have and have fun!
Top Tip: If you happen to have numerous family members and friends who would truly appreciate receiving beautifully hand-painted cards, I suggest you consider setting up a small production line. This approach allows you to make the most of the drying time by efficiently working across all the cards one layer of paint (i.e. one step) at a time.
Tiny children will enjoy this one, painting the baubles with their fingers. Have soap handy!
Winter Tree With Baubles
1 Using ultramarine blue and burnt sienna, mix a selection of greys and browns.
2 Using a brush loaded with clean water ‘draw’ in the tree trunk and branches. ( You may find it easier to lightly draw in tree in pencil first).
3 Selecting different colours from your mixes, drop the paint on to the damp tree shape. Allow the colours to mixed blend on the paper; keeping it wet will allow granulation effects to develop as it dries, giving the tree interesting textures.
4 To paint the baubles take the top off a tube of red paint and print the baubles directly from the end of the tube. Some will be solid, others will retain some white in the middle, suggesting shine. Alternately, you could print the baubles using a fingertip dipped in red paint!
5 While the baubles are still wet, use a pencil to drag a fine line from the bauble to a branch or the top of the card.
Materials
Bockingford NOT 140 lbs
Carmine, Daler Rowney
Burnt Sienna, Daler Rowney
Ultramarne blue, Daler Rowney
Size 4 Series 35 da Vinci sable
Pencil
Worked wet-in-wet watching this tree develop is just magical.
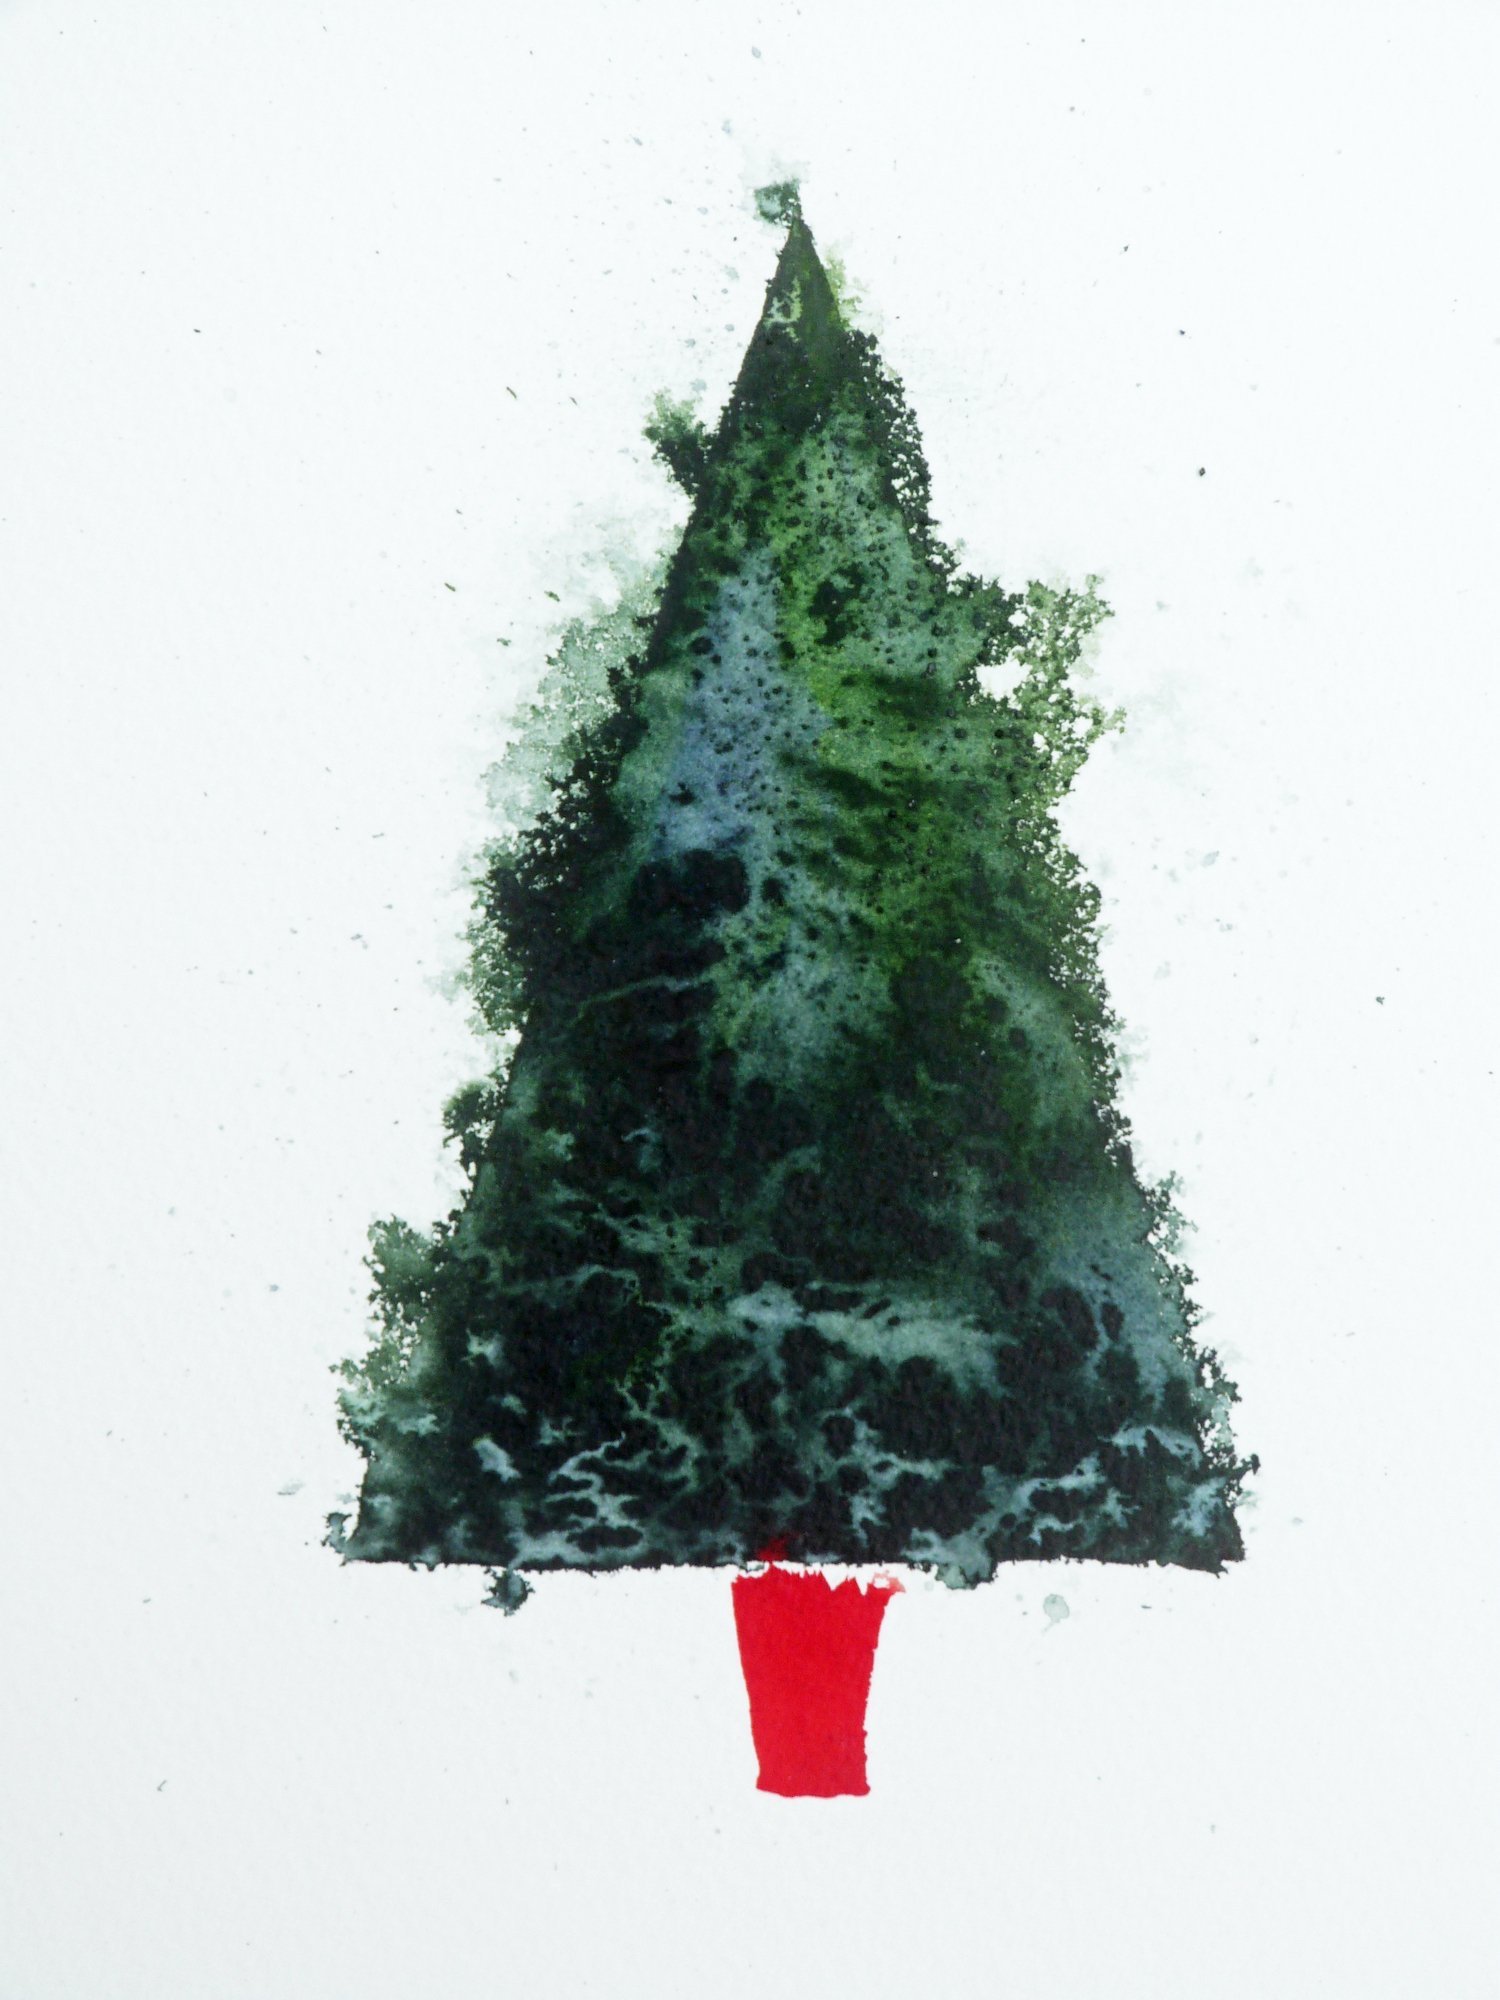
Christmas Tree
‘The following instructions appeared in the A&I. Have fun jazzing up the painted trees with glitter, iridescent medium… or anything else that that your fancy ! ~ Siân ‘
1 Lightly draw a triangle
2 Mix a selection of greens, making sure the mix is creamy enough to give rich, dark tones.
3 Wet the triangle with clean water. Randomly selecting greens from your mixes, drop colour in and allow the paint to mix on the paper.
4 Watch the paint surface. As the glossiness starts to lose its shine use a spritzer, or a toothbrush, lightly spray the triangle with clean water to encourage cauliflowers to develop.
5 Continue working, carefully spray the edges of the triangle to produce the textured edge.
6 While the paint is still wet sprinkle table salt over the triangle. Leave to dry completely.
7 Finally, paint in a pot or tree trunk.
Materials
Bockingford NOT 140 lbs
Deep Sap Green, Schmincke
Sap Green, Daler Rowney
Windsor Red, Winsor and Newton
Size 4 Series 35 da Vinci sable
Table salt
Toothbrush or spritzer
A simple twiggy star that is surprisingly exciting to paint!
Star
1 Using ultramarine blue and burnt sienna, mix a selection of greys and browns.
2 Marks the points of the star with pencil. Using a sword liner or rigger ‘join the dots’ freehand, selecting different colours and tones from your mixes for variety. Repeat to suggest several twigs.
3 Before the lines dry paint the berries. Print the baubles directly from the end of a tube of red paint. Some will be solid, others will retain some white in the middle, suggesting shine.
4 While the paint is still wet use a pencil or embossing tool to ‘scribble’ across the points of the start (marks inspired by string used to tie the twigs together).
5 Cut strips of paper to a suitable length, and print green lines randomly at places on the star (marks inspired by Christmas foliage).
6 Finally, if desired, paint a line to the top of the card to represent string.
Materials
Bockingford NOT 140 lbs
Carmine, Daler Rowney
Burnt Sienna, Daler Rowney
Ultramarne blue, Daler Rowney
Sap green, Daler Rowney
Sword liner brush Pro Arte
Piece of card or edge of watercolour paper
Robin
1 Lightly draw the outline of the robin and the branches it sits on.
2 get ready to work wet-in-wet by preparing colours mixes of greys, browns and reds.
3 Using water and a swordliner make long, loose strokes which criss-cross across the entire page. Using one colour at a time repeat these strokes; the colours will run along the wet lines and blend together. To keep the marks loose work right across the robin and the tree, immediately dab the paint off these areas with kitchen roll.
4 Dampen the shape of the robing, leaving the eye and beak dry. Beginning with the breast, drop in a orangey-red, allowing the colour to bleed beyond the breast shape. Drop in pale blues and greys for the underside, and browns in deeper tones for his back. Allow cauliflowers and runs to develop.
5 When dry, using darker tones selected from the mixed colours, paint in the eye, beak, legs and the branches. If necessary tidy up the robin, being careful not to lose the fluffy wet-in-wet marks.
Materials
Bockingford NOT 140 lbs
Sword liner brush Pro Arte
Size 4 Series 35 da Vinci sable
Translucent orange, Schmincke
Carmine, Daler Rowney
Burnt Sienna, Daler Rowney
Ultramarne blue, Daler Rowney
Cerulean Daler Rowney
Sap green, Daler Rowney
An extra to the magazine article, here is a reference photo for the robin.


